Design your first application
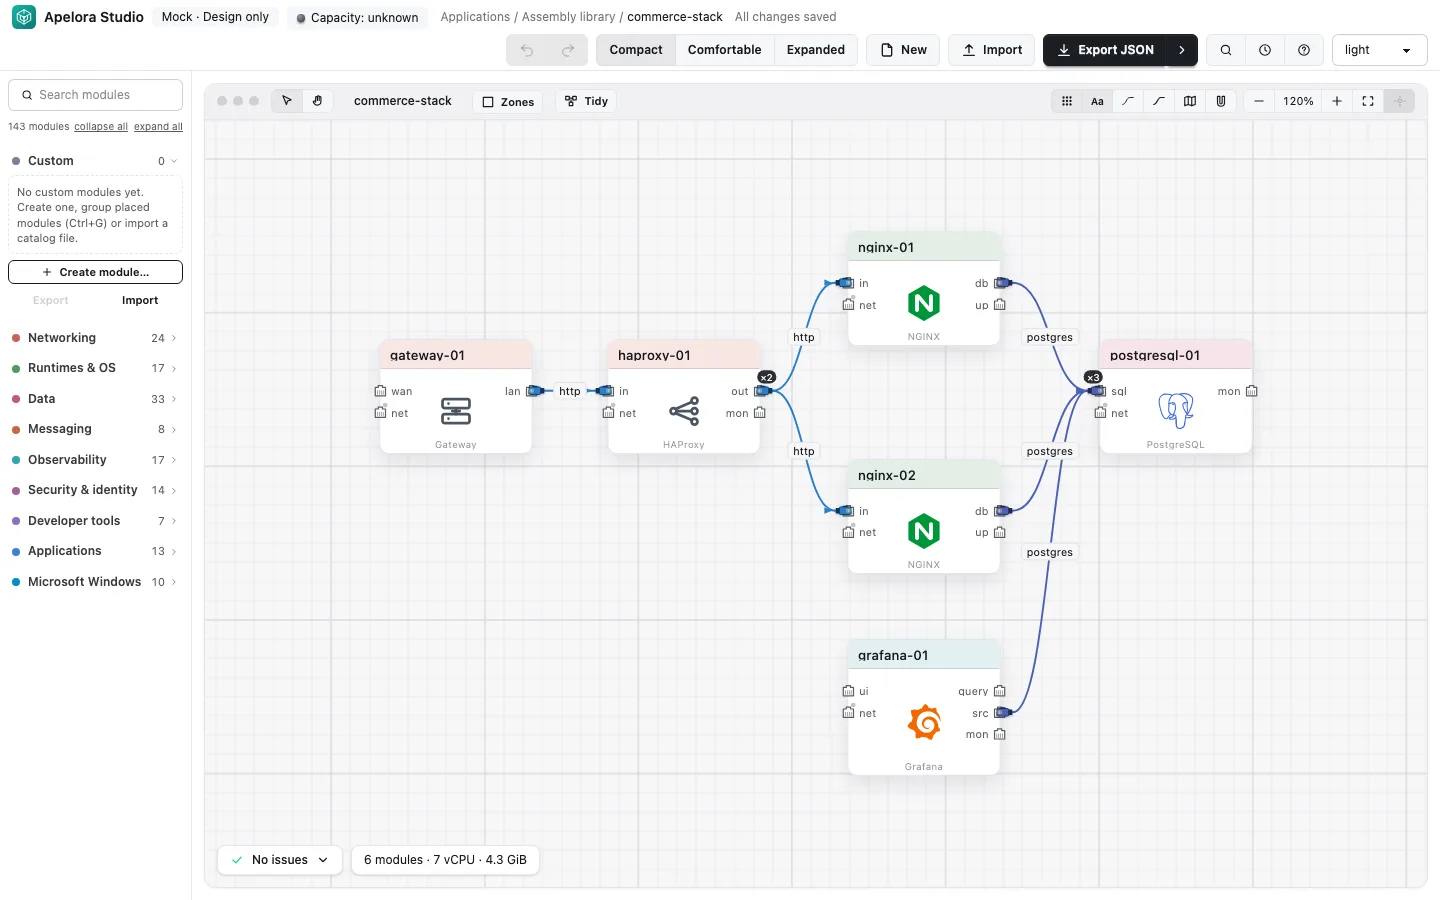
Apelora Studio is where you design. A design is a set of modules (a gateway, NGINX, a database) joined by cables between typed ports. Ports tell Apelora what each connection means, so it can refuse a cable that cannot work and, later, allow only the connections you drew.
1. Start
Open the Studio. It starts on the Applications list: New application creates one (a blank canvas, a template, a copy of the Assembly library's design, or a file you Import). Connected to a control plane the applications live there; on its own, the Studio keeps them in your browser (the chip says This browser · not connected). The Assembly library is a scratch canvas kept in your browser.
2. Add modules
The catalog on the left holds 143 modules in 9 categories. Drag a tile onto the canvas, or click it to place it at the centre. Search narrows the list. Right-click empty canvas for Add module.
Which modules run today. NGINX (an application container), Debian (a system container) and a Linux virtual machine deploy. The other 80 are design-only: you can place and connect them, but deployment skips them and the Deploy dialog says so. See the module catalog.
3. Cable them
Drag from a socket to a compatible socket. Inputs sit on the left, outputs on the right. Compatible sockets light up while you drag; an incompatible cable is refused with the reason. Each cable carries a protocol label such as http or postgres. Right-click a socket and choose Add module that connects here to place a compatible module and cable it in one go.
4. Set each module
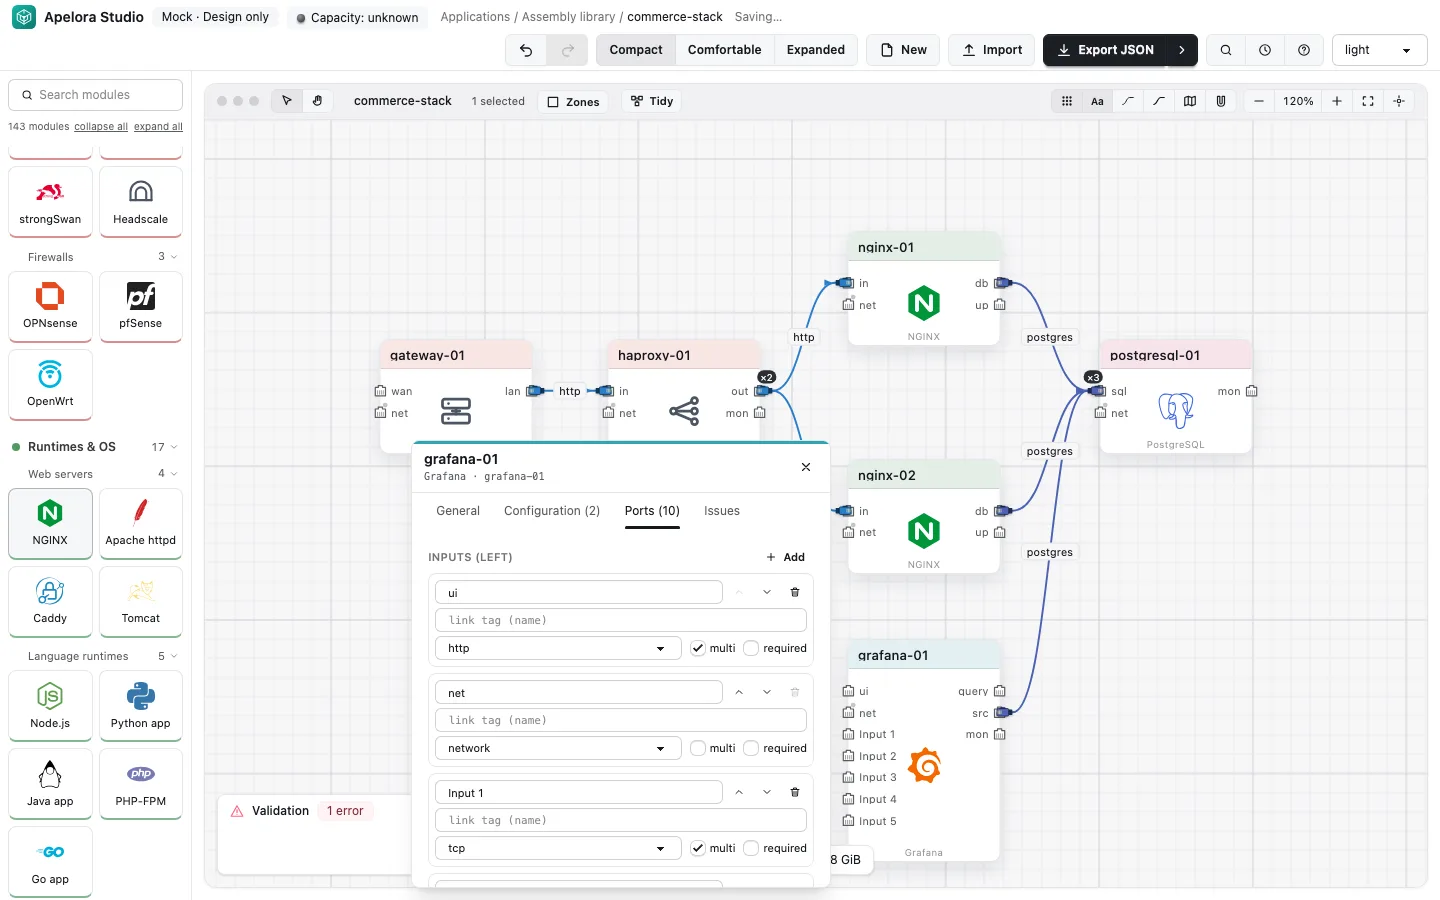
Double-click a module (or right-click, Properties…, or select it and press Enter). The Properties window has tabs for general settings, configuration, ports and issues. For the modules that deploy you can set:
- Replicas (stateless modules): 1 to 9 interchangeable copies, spread across servers and replaced if one is lost.
- Resources: CPU and memory limits.
- Internet access: off unless you allow it.
- Configuration: the module's own settings.
Everything else on the canvas (zones, density, layout) is view-only and never changes what deploys.
5. Check it
- The validation panel at the bottom left reports problems: a required input without a cable, an incompatible cable.
- The capacity chip in the header (once connected) says whether the design fits the free servers, and why not. See the plan on the next page.
- Undo and Redo (Ctrl+Z, Ctrl+Shift+Z) keep 100 steps. Export JSON saves the design as a file; Import reads one back, validating it first and never replacing your design if the file is wrong.
6. It saves itself
There is no Save button. Every change is stored a moment after you make it, and again when you leave the page; the header says All changes saved (or Saving…). An application's draft is saved to the control plane, the Assembly library in your browser. To rename a design, double-click its name on the canvas strip (Enter saves, Escape cancels). An application's own name is fixed, because its instances are named after it.
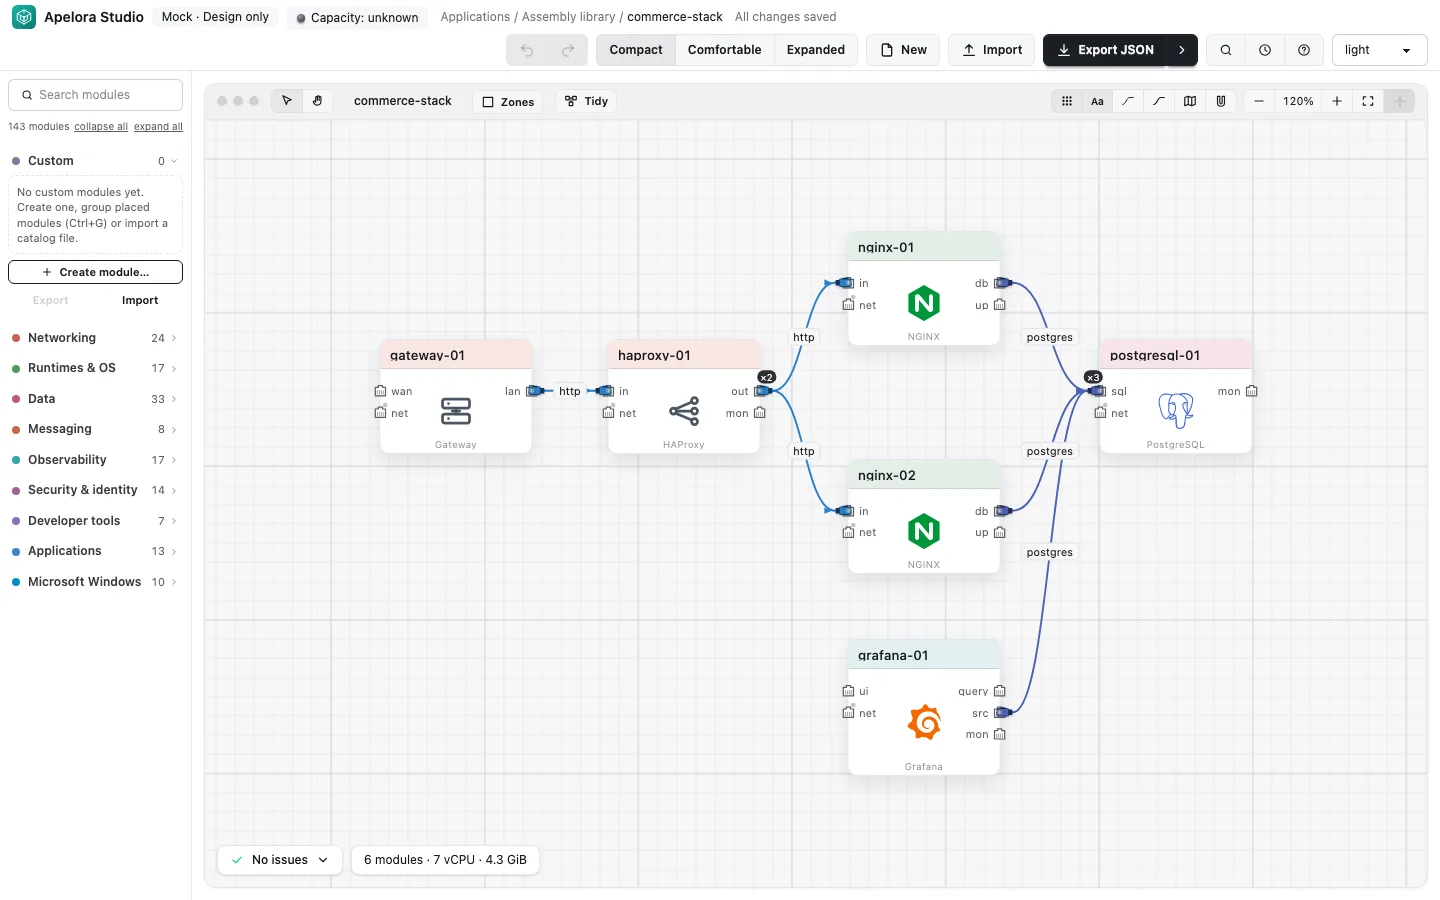
When the design is ready, Publish version… (in an application's designer) freezes the saved draft as a version you can deploy.
Shortcuts and every interaction: the Studio interface. Modules you define yourself, groups and zones are covered there too.
Next: deploy it.